Nowadays, the need to grow in number of people who see our audiovisual content, who share and massify the information and that whatever we have to say arrives more efficiently to various parts of the world is more and more important. However, languages are sometimes a barrier that not everyone can easily overcome, which is why the great possibility of creating subtitles in several languages to add them to all the audio and image content found on the Internet was given to everyone. The good news is that, currently, this is neither complicated nor impossible. Do you want to know how you can add subtitles in your videos? YouTube has an infallible tool, free and at your fingertips, here we present it to you.
Without difficulty and with many benefits
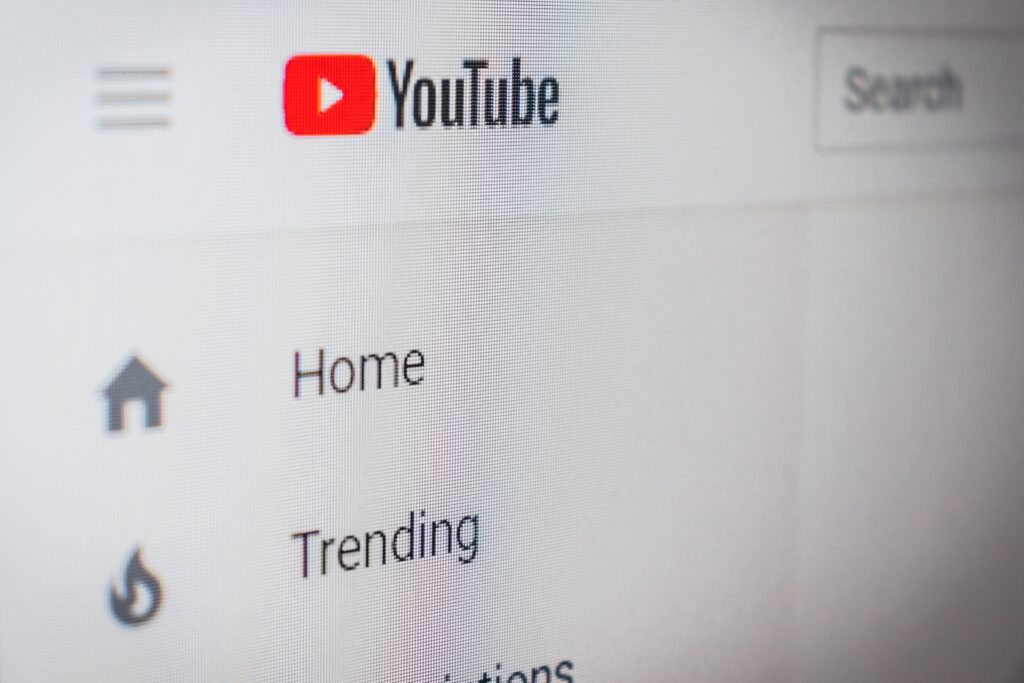
First of all, so that you can review, investigate and explore the subtitle tool, it is recommended that you open YouTube from your computer, because the interface will be much clearer and friendlier. You’ll find the captioning tool in YouTube Studio by clicking right on your YouTube user’s icon, top and right. There, you will already be a few steps away from starting to play with the subtitling possibilities that will be presented to you without any difficulty.
Steps to start subtitling your videos
- Once you’ve opened your YouTube account and tapped YouTube Studio, a new tab will open where you’ll start working.
- In the left part of the window, you will see several icons and sections. You must go to the subtitles and press it; That’s where the magic will begin.
- You will see several of the videos that you have already uploaded to YouTube, all you have to do now is select the video to which you want to add the subtitles. Next, you’ll need to choose which original language the video has. The next thing you will see is a window on the right side which has a link called “add”. Click on it to begin the process.
- You will be shown three options: one is “upload file”, which gives you the possibility to upload a subtitle file already created by you. The second option is automatic syncing that allows you to paste or write an entire transcript of what’s said in the video. Finally, you are shown the option to write the subtitles manually.
- In this last option, you will see that the tool opens a box for you to write the subtitles in it, you can add boxes and adapt the duration on the screen of that subtitle, as well as the place and time code in the video. Continue adding boxes with your subtitles until you finish the video, everything will be saved automatically.
- At the end, after corroborating that what you have done is to your liking, press the “publish” button, located above and to the right. You just have to wait for the process to complete and voila, your subtitles will be added to your video.
As you can see, it is a very easy to use tool that gives you the benefit of increasing the number of people who will see and understand your audiovisual content. It may take you a little time to master it quickly, but with practice you will become adept at adding subtitles to your YouTube videos.